MIA - OS Mode, Building and Pushing Games
Assuming that you've flashed your board successfully and you still have the USB-C cable connected, you can now re-assemble your control deck and you will no longer need to press the "Go for broke" or "Mystery button" unless you need to recover/restore your back-up in the future.
This guide will cover building games for the cabinet as well as how you get them installed while using the MIA software, all of this is subject to change and there will be additional steps in the future in order to get specific things working such as leaderboards, online play, or unique controls for specific games and or roms such as lightgun games.
On the discord, we've pre-emptively started a "file-share" channel with the intention of allowing users to share some of the control configurations that will be required so that not everyone has to build them, the MIA application will try to make this process as easy and painless as possible while using user-contributed configurations.
NOTE: There are a few different types of games that you may be loading if you obtained your game from itch.io or a developer directly; it does not need to be 'built' and you can skip this section and go to the section of this guide explaining how to Push games and ignore the rest of this.
Building games is when you have an existing APK, or ROM which you would like to build an iiRcade package to push to your board which will be covered in this next section.
Building iiGames Packages
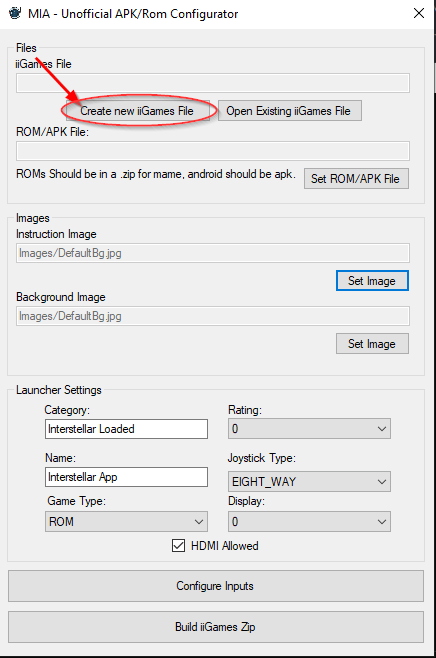
Step 1: In the first step of this guide we're going to click the APK/ROM Configurator (As noted previously, this is if you don't have a package that is already built for the iiRcade cabinet(such as an APK or a ROM).
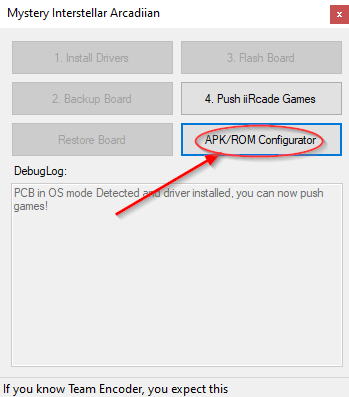
Step 1.1: Now we'll break down each of the options in an image for the ROM Configurator and explain what each is responsible for
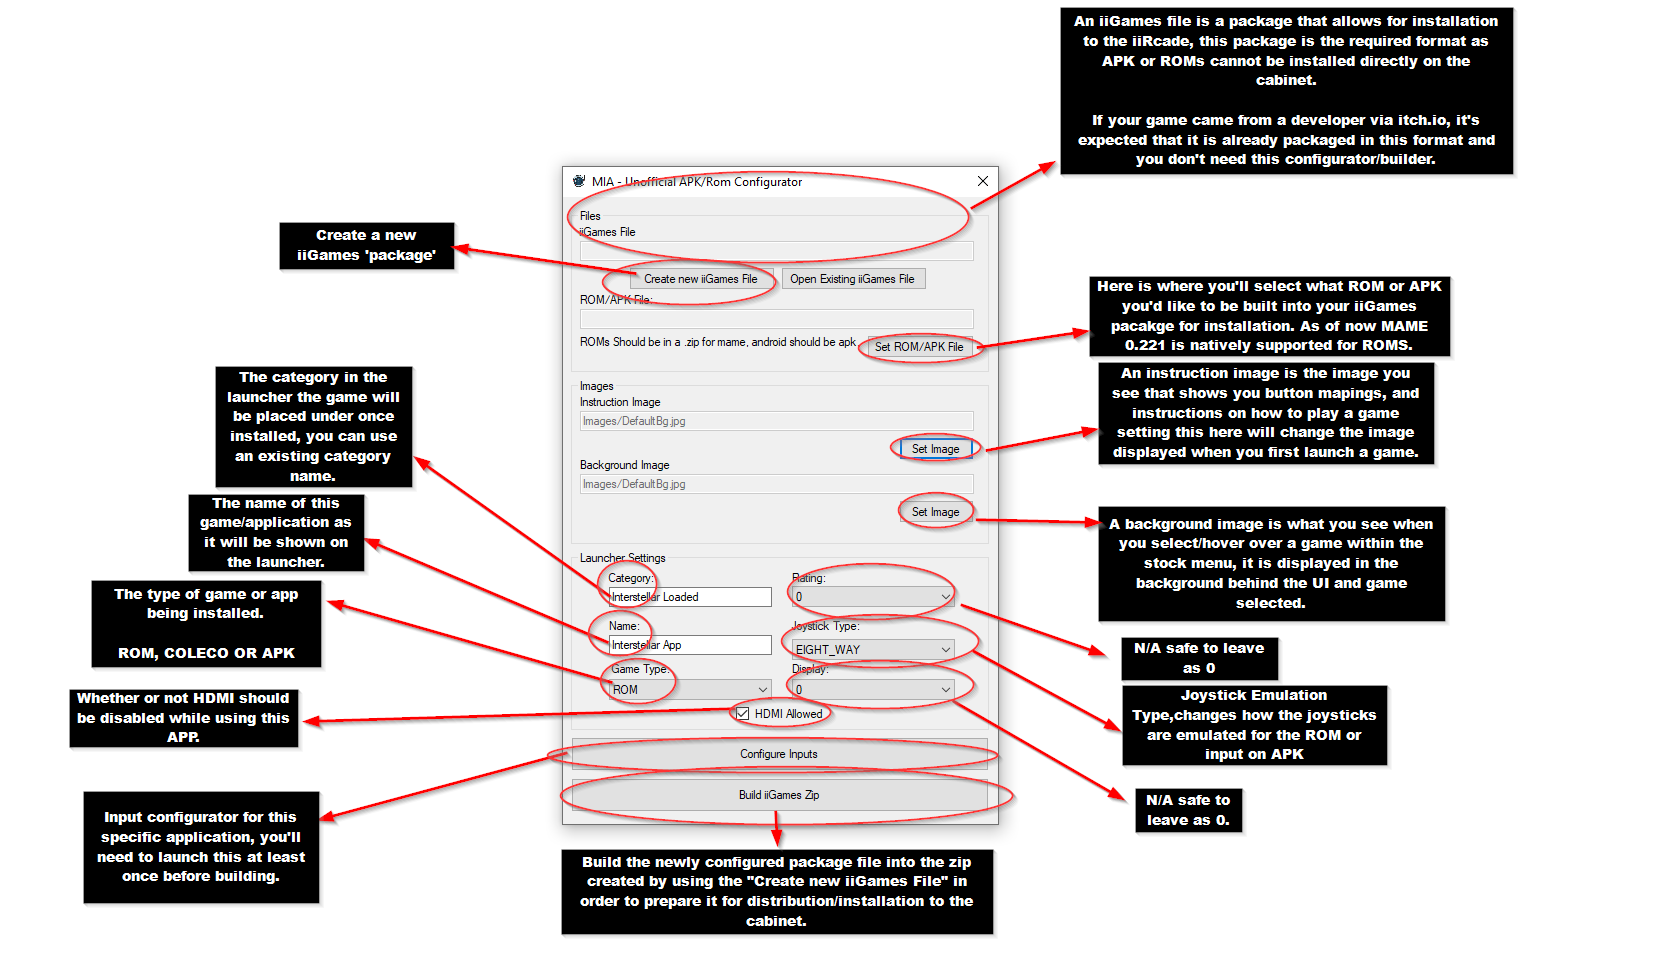
Now that we've given the basic rundown of the application we'll get into adding a ROM for demonstration purposes we'll grab a free and legal ROM from the MAME website located here:
https://www.mamedev.org/roms/
The steps for the APK are going to be relatively the same as what's described here for a ROM with the exception of the game type needing to be set to "APK" instead of "ROM".
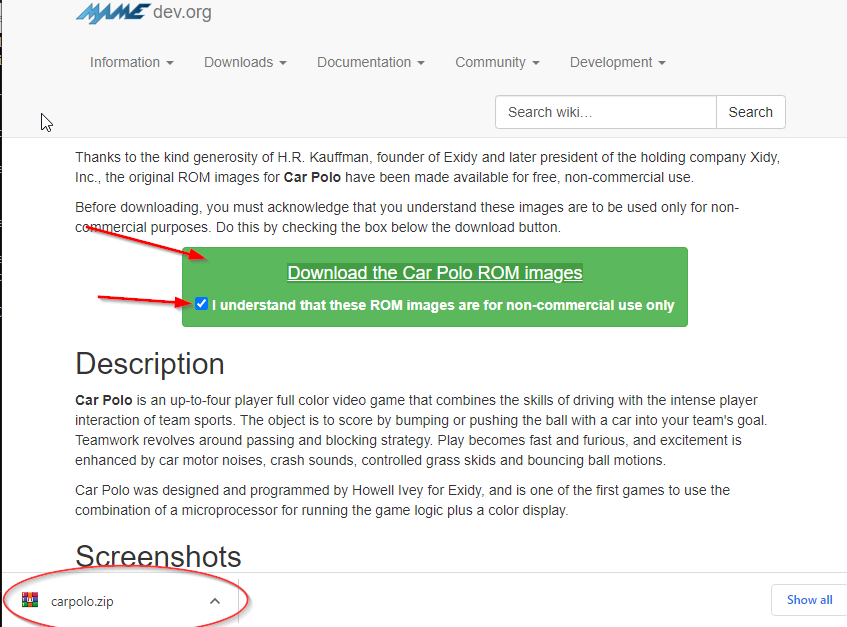
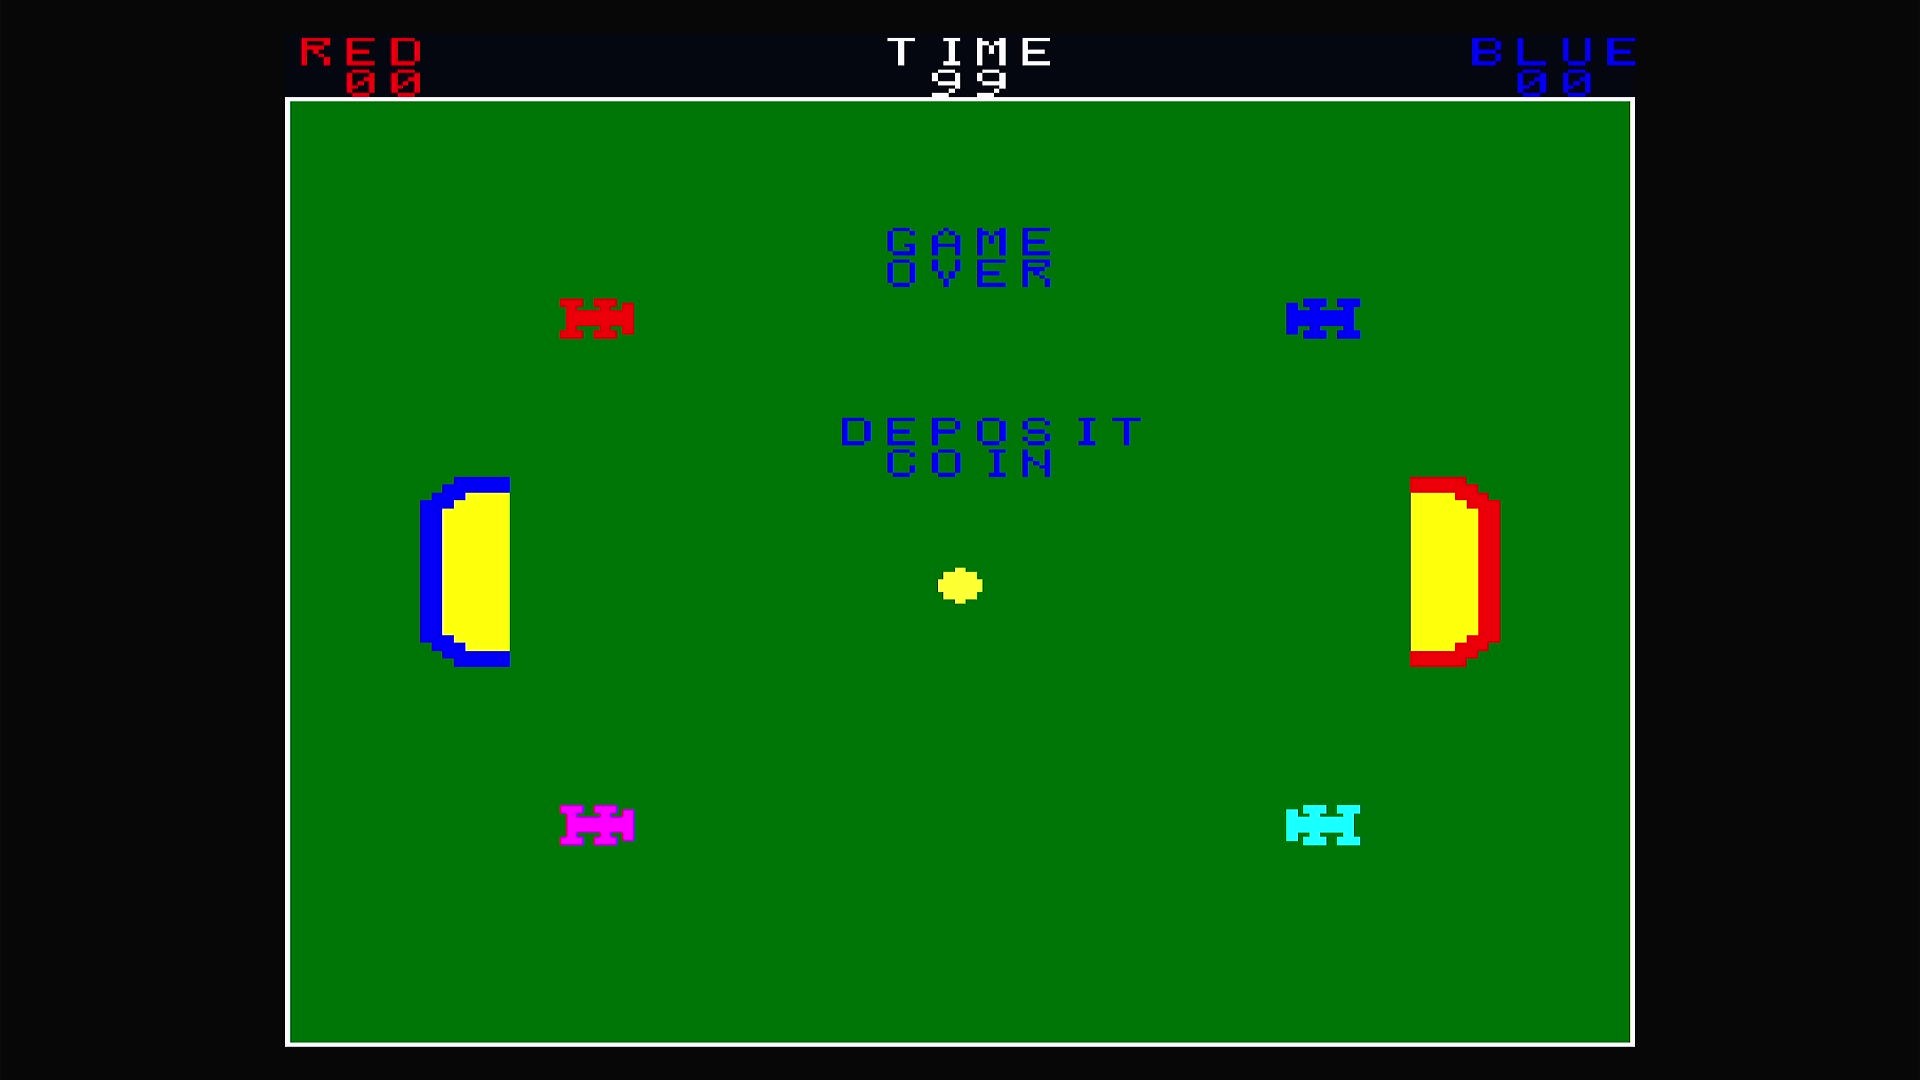
The rom we'll attempt to load is "Car Polo" so head on over to:
https://www.mamedev.org/roms/carpolo/
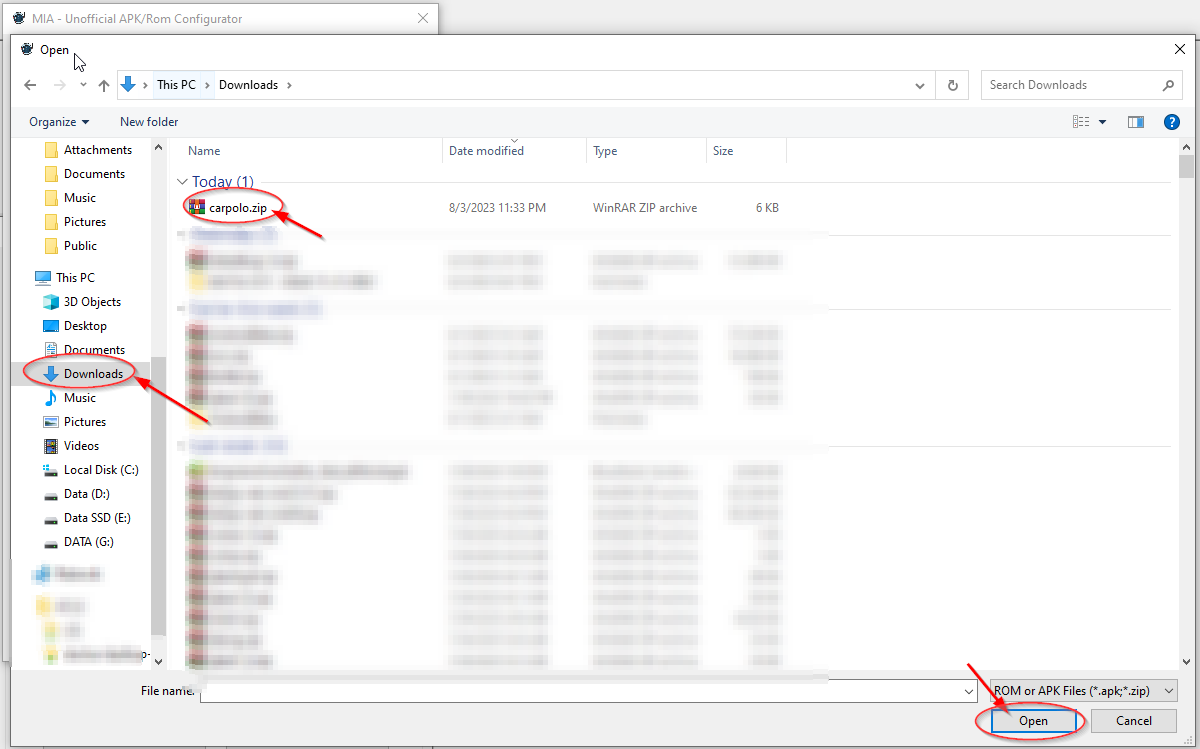
And download the rom by clicking the "Download the Car Polo ROM Images", once completed we'll continue to Step 1.2.
Step 1.2: Naming our package, and selecting a rom...
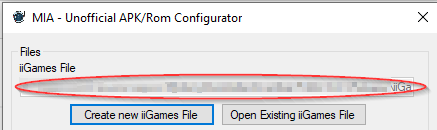
First we'll want to click "Create new iiGames File" and name the file that we want to be created, we'll leave this at the default location which is 'iiGames' folder the application resides in and we'll go ahead and name this carpolo.zip - It is recommended to keep naming similar to that of the rom file itself.

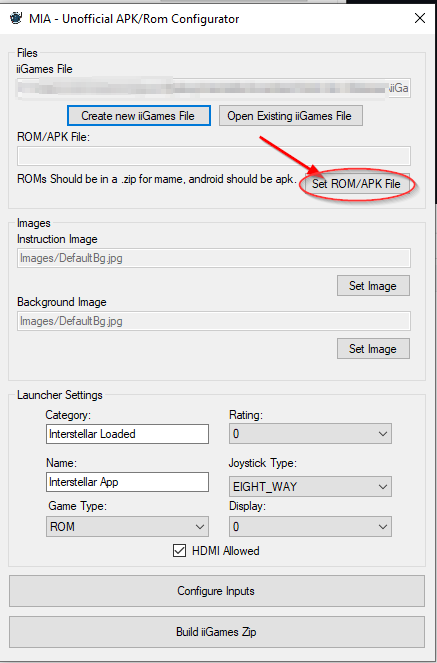
Step 1.3: Now we're going to use the "Set ROM/APK" option and select the carpolo.zip rom we've just downloaded from the MAME website.
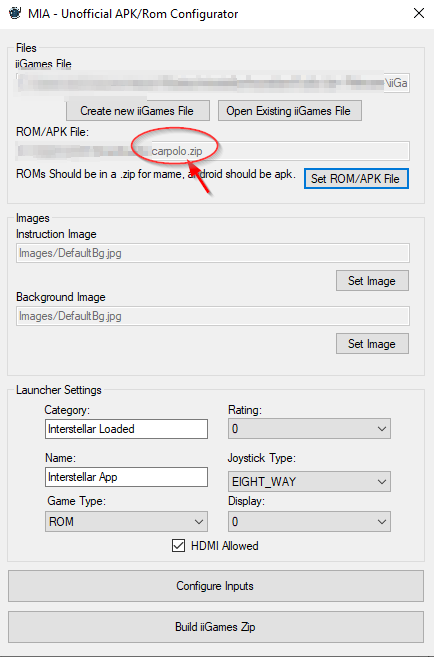
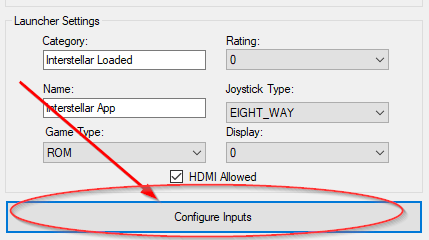
Step 1.4: For this example, we're going to skip over the setting of the Instruction image and Background image as those are self-explanatory, the same goes for Category, Name, Game Type, Rating, Joystick Type, Display and HDMI Allowed they were explained in the beginning of this portion of the guide, which leaves us with "Configure Inputs".
So when clicking the Configure Inputs option we'll be presented with a new window as seen below:
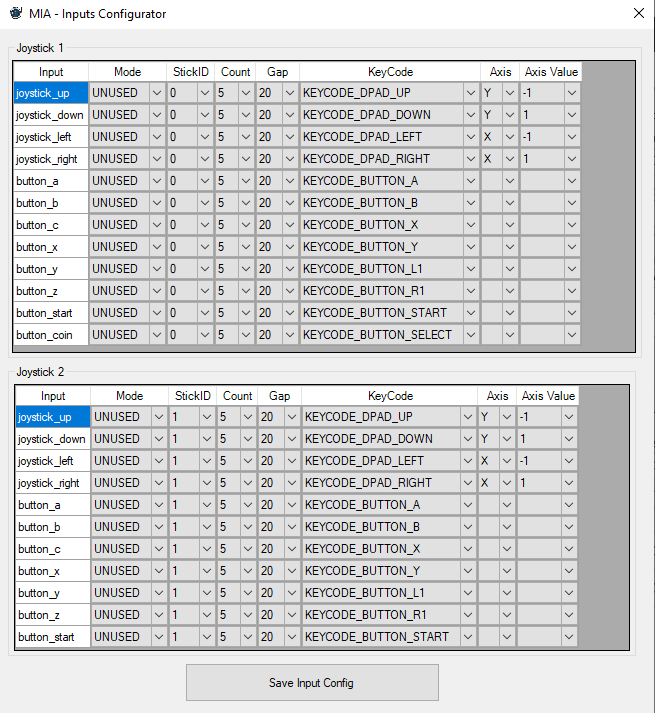
When first seeing this window we understand that it could be potentially overwhelming, the good news is the configuration there is supplied for you and you can utilize this default configuration by just clicking the "Save Input Config" at the bottom of the window. However, we would still like to provide a partial breakdown of this window in text.
Under Input you have the button or input associated to the control deck itself, under "mode" you have the various modes that input may operate in such as TOUCH, SWIPE, etc. The stickID is whether or not this input should be associated to the first or second player.
At the moment the count is unknown but it appears to be related to debouncing, same thing for Gap these might require some experimentation on the part of the user.
The KeyCode entries are Android keycodes and pressing a button will trigger that keycode to be signaled within the application being configured, if you don't like the inputs for a ROM you can always come back to this and change these to re-associate buttons to other controls.
Last you have Aixs and Axis Value, normally the way the joysticks operate are on/off 0/1 but there are specific cases or instances where they would have more range or sensitivity, by adjusting these values you can swap which axis is controlled as well as the 'play' of how far a joystick is able to move while giving it an analog signal vs digital input.
Now to proceed we're simply going to hit "Save Input Config" and that will bring us back to our main window and use the default configurations as we saw them.
The last step now that we're back at the main UI will be to simply click Build iiGames Zip:
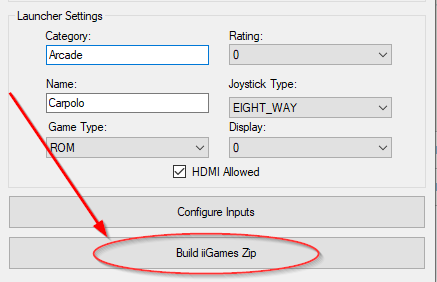
If all went well we should be presented with the following pop-up, which we can close as well as close the ROM Configurator and continue on to pushing games onto our cabinet.

Pushing Games to The Cabinet
!WARNING!: Please exercise caution with what you install to your cabinet, do not install things from unknown sources. Do not attempt to install alternative launchers (Nova Launcher, Dig, Launchbox, RetroX, etc.) these will not work properly on this system the OS heavily relies on controls being dynamically configured by the launcher. It's not advised to attempt to 'sideload' things utilizing non-official methods tied to the cabinet because you will also break the stock OS. Additionally, it's advised to watch what you load if you attempt to use intensive android games not intended for a platform like this you're likely to encounter issues, it is also recommended NOT to follow anyone who attempts to load things such as Google Play services on the board as this is bloat and will ultimately slow your arcade cabinet/board down. If you're not sure what is safe or not feel free to check out the discord and we'll be sure to have a recommendations channel and attempt to moderate some of the activity there to keep things as safe as possible for the average user.
It's important not to follow random guides/youtube tutorials or other activity/media just because what someone else is doing looks cool or looks like something you might want to try, from this point you proceed at your own risk and we do not recommend going outside of the 'norm' or the 'trusted' community's recommendations.
If we've reached this section of the guide we've either built a iiGames zip file/package utilizing the ROM configurator, or we've downloaded one legally from a developer on itch.io or elsewhere and need to place it in the "iiGames" folder next to the MIA application.
Once we've ensured that our zip file is located in the iiGames folder next to the MIA application ( If we used ROM Configurator, that's where we would've saved it by default ) we'll go ahead and click the "4. Push iiRcade Games" button on the MIA Application as seen below.
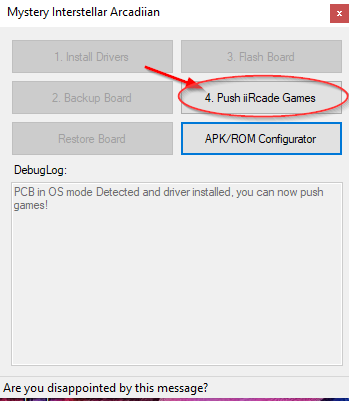
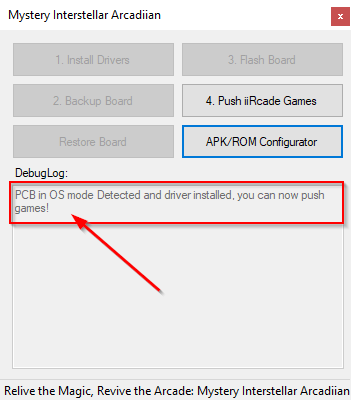
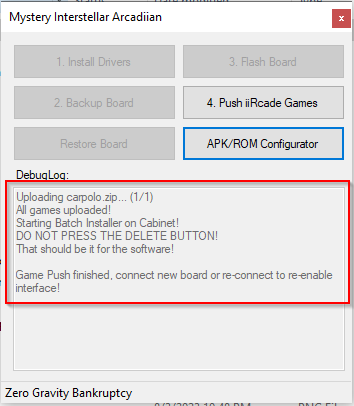
Once we've clicked the button we'll see the application state that it's "Fixing Android Permissions..." and proceed to give us progress on the game(s) being pushed, if there are multiple games in the iiGames folder they will all be pushed to the cabinet at once.
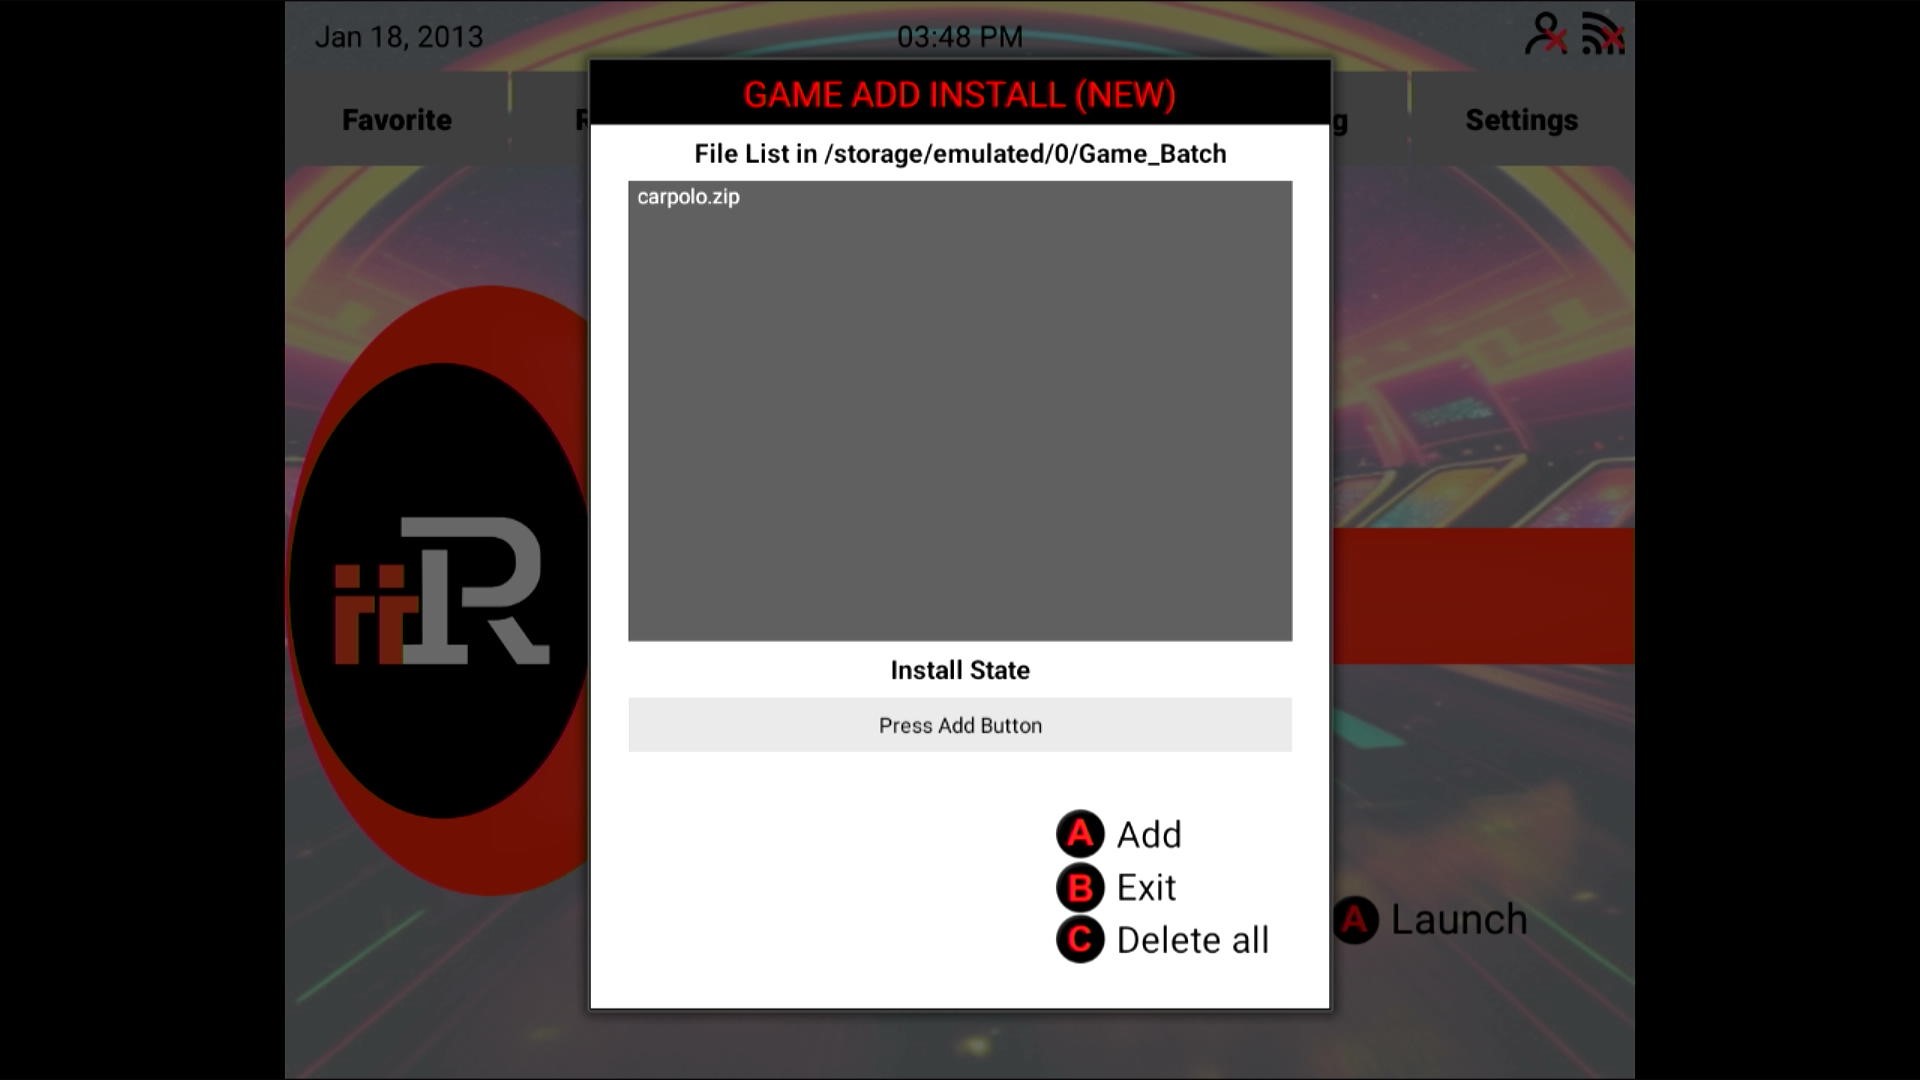
Step 2: Now looking at the cabinet we'll see that a "Game Add Install (NEW)" window has appeared, while in this window we'll notice a few options "A - Add, B - Exit, C - Delete All", we will proceed by Pressing A and be presented with a message in the middle telling us that our game was installed successfully.
WARNING: Absolutely DO NOT press the "C" Button for Delete all this will delete ALL games on the cabinet not just the ones displayed within this installer.

Step 2.1 All that is left now is for us to reboot our cabinet and find our newly installed game:
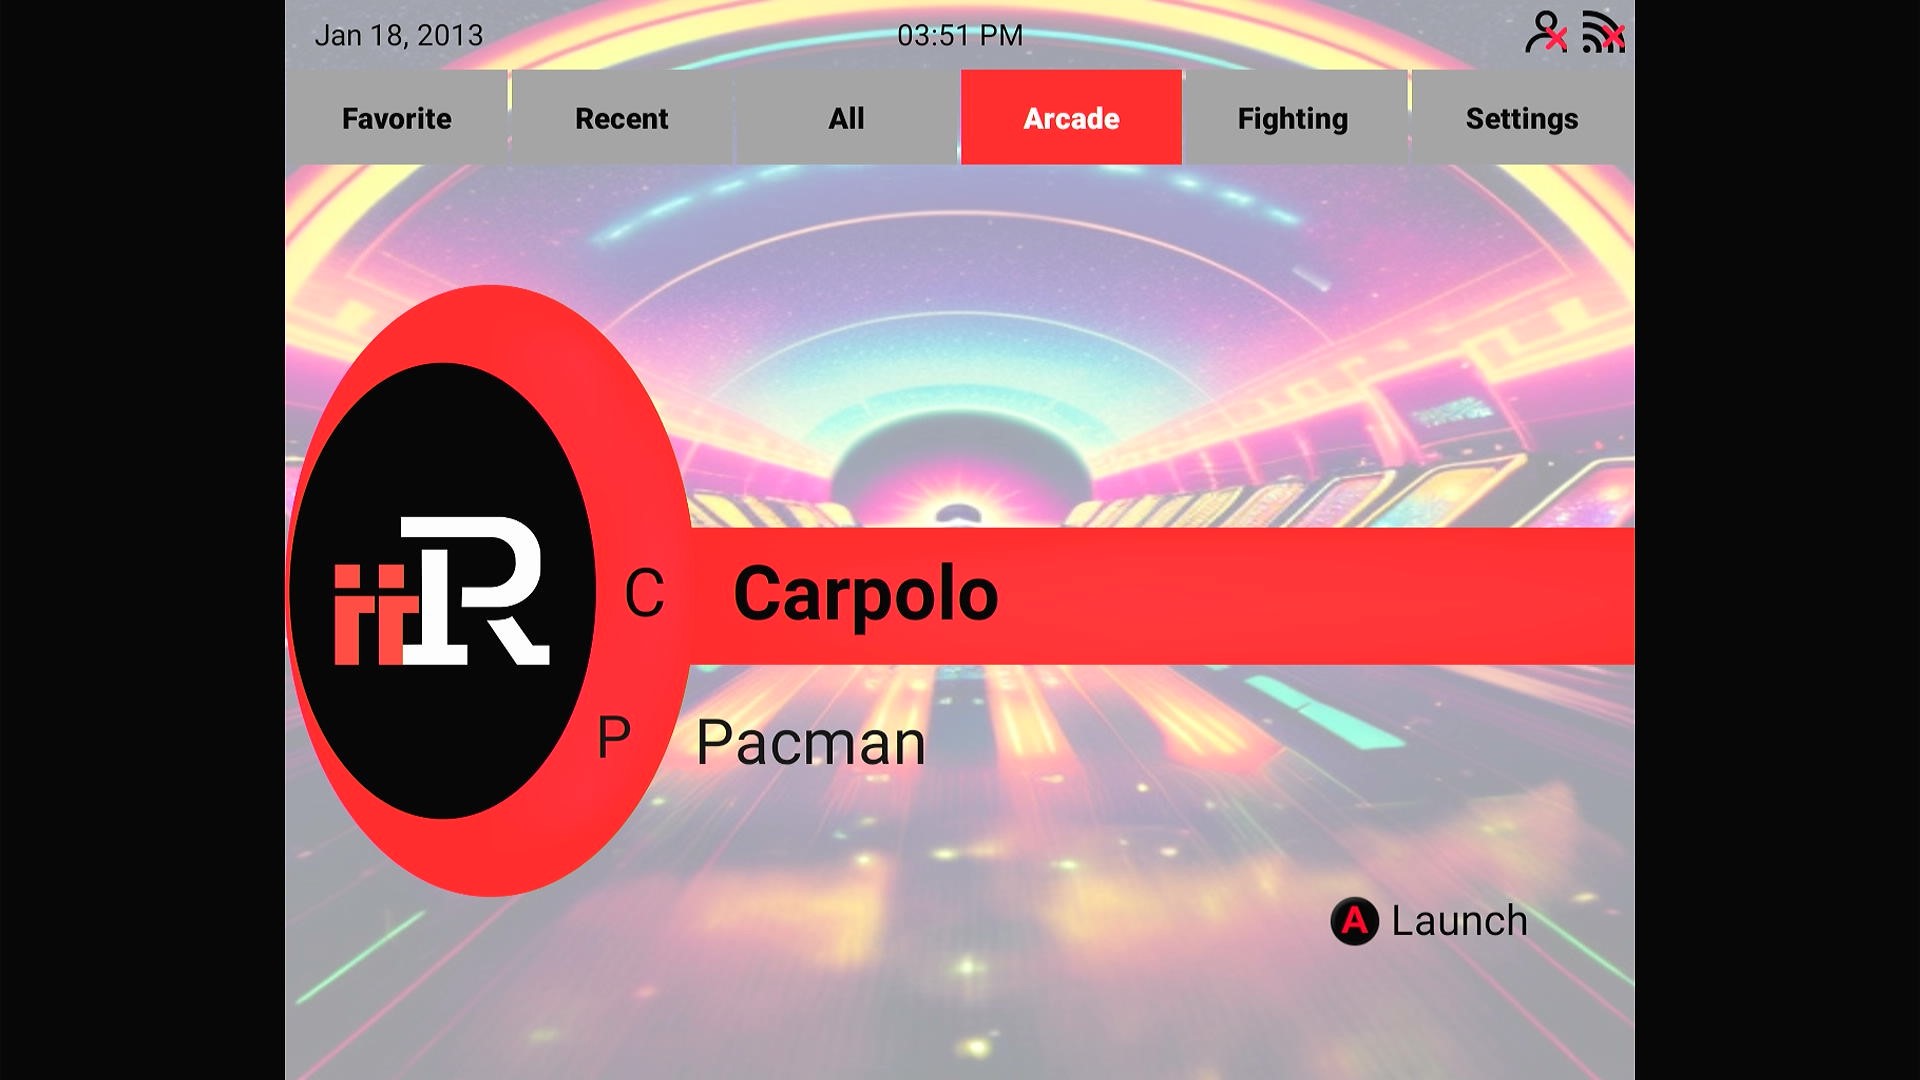
When launching it we'll see the default instruction image utilized by the application as well as the background while it's highlighted:

And at this point, we'll be able to play our great game we just installed and legally obtained from the MAME website Car Polo!
That's the end of this part of our guides until more features are added to our software, if you need any help at all please navigate back to the main MIA page at https://www.team-encoder.com/MIA and scroll down for information and links on joining the discord where our team and the community can help answer any questions you have or help troubleshoot any issues you might have.